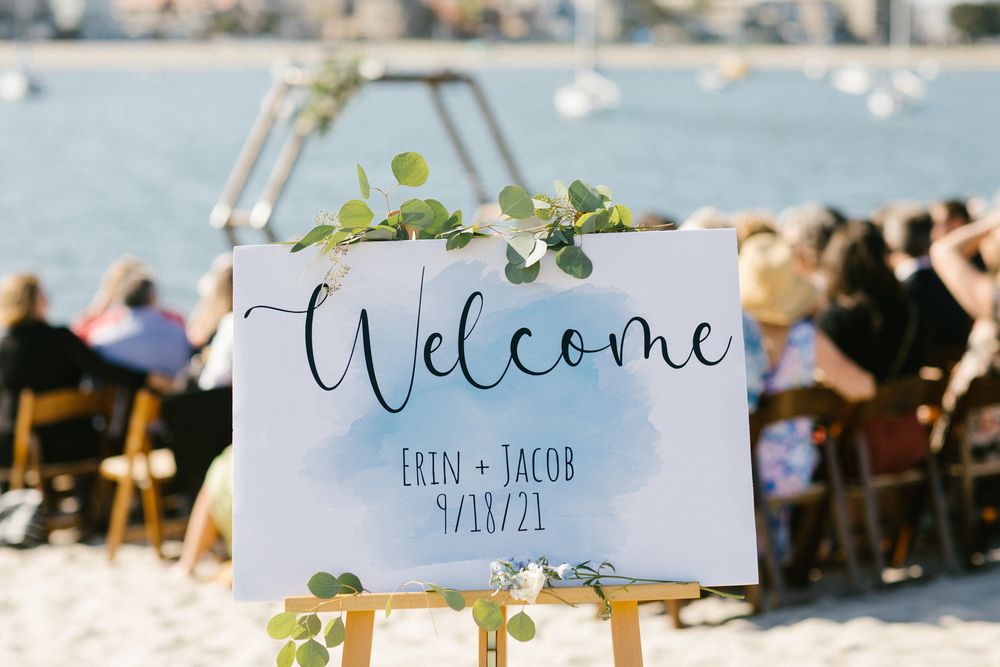
My wife and I were married on September 18, 2021 which turned out to be a beautiful San Diego day. We opted to do a majority of the preparation ourselves and this was a great excuse to try my hand in some graphic design.
Inputs
After we settled on our wedding venue, the Garty Pavilion in Mission Bay, my wife and I started to look over some wedding decoration styles. We were hoping to create an environment that was fun and light to match our outdoor bayside venue. The colors for the rest of the wedding were slate blue and sage green, and the bulk of our floral decoration was loose eucalyptus.
Fonts
A common theme used in graphic design is a set of paired or complementary fonts which together form a nice contrast. We decided a softer, loopy font (similar to everything you'll find on Etsy) would work well against something more structured but similarly light.
We selected Beatrica by Balpirick Studio from the Calligraphy section on dafont as a nice looking (but not completely over the top) loopy font:

Amatic Small Caps from Google Fonts seemed to provide an appropriate complement whilst maintaining a light and semi-whimsical feeling:

Graphics
After a bit of poking around on Etsy and Pinterest I really came to like the look of light, splashy watercolor backgrounds. They seemed to fit our desired environment well and provide enough variability to create a few different graphics without repetition.
The majority of the graphics I used were found through freepik.com or Vecteezy.com.
Process
The pieces that we decided were needed for the wedding were:
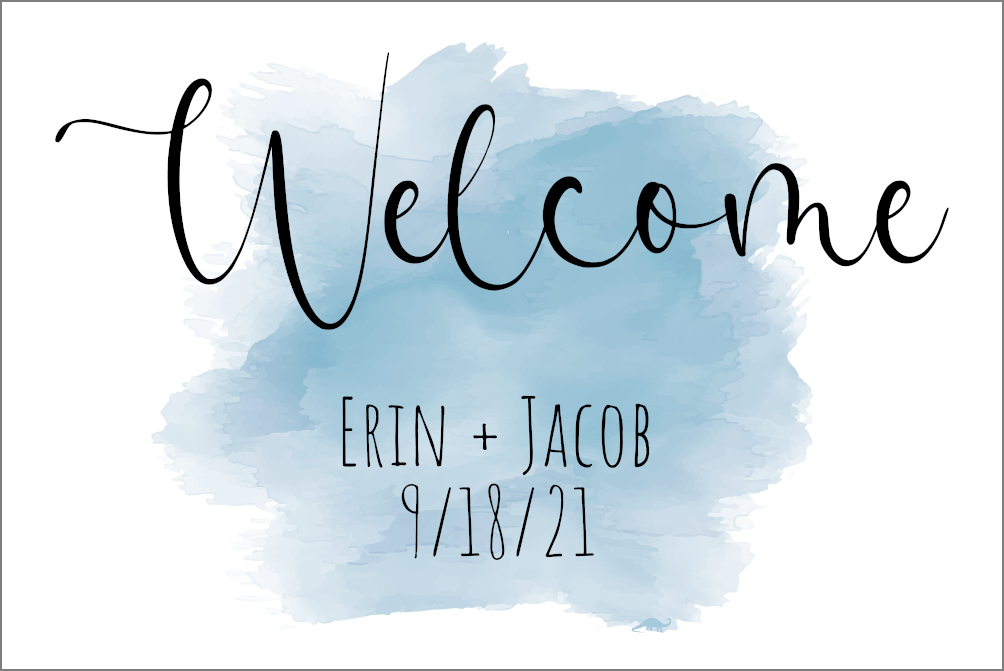
Welcome sign
Bar #1 sign
Bar #2 sign
Cards & Gifts sign
Desserts sign
Guest Book sign
Loved Ones Who Could Not Be Here sign
Table Number signs
Table Assignment escort cards
Bridesmaid cards
Groomsmen cards
Wedding Favor labels
The graphics were developed almost exclusively in Inkscape. This was my first time working extensively with vector graphics and I found it to be very liberating, even with my limited skillset. I will leverage and recommend vector graphics for any future design work.
One-offs
Many of the items listed above (most of the signs and cards) were one-off pieces. In this case the design process was pretty simple:
Find a suitable splashy background
Clean up the vector image
Convert from .eps to .svg if necessary
Close up the gaps that sometimes arose from conversion with either a blanket background fill or manual node manipulation
Remove unwanted elements
Utilize Inkscape color shift tool to better match desired palette
Place and size the text appropriately
Avoid automatic text reflow if you want alignment to work
Utilize Inkscape align and distribute tool
Hide a small picture of a brontosaurus in the sign somewhere
Export as .png
Size canvas according to physical dimensions of resulting sign
Export at dpi that matches or exceeds that of the printer (600 or 1200dpi) for maximally crisp result
Print
Escort Cards
The "Table Number signs" and the "Table Assignment escort cards" required generating a large number of similar images for printing. These images were built slightly differently than the one-off images to reduce the manual work to a bare minimum, mostly so that I didn't have to make the exact same changes on 180 images when we inevitably changed our mind on the desired color or font (which we did, multiple times).
The escort cards were generated with a simple template and text-overlay script written in Julia, utilizing ImageMagick for the image generation. The script takes in a CSV with names and table assignments, along with a template image (sized to accommodate the longest name!), and spits out .pdfs ready for printing and slicing.
# namesCSV has 2 columns: name, table
names = CSV.read(namesCSV, DataFrame)
names[!,"first"] .= ""
names[!,"last"] .= ""

for (i,r) in enumerate(eachrow(names))
    r.first = join(split(r.name)[1:end-1], " ") # Some of the list is "Mom & Baby LastName", want to keep "Mom & Baby" together
    r.last = split(r.name)[end]
end

sort!(names, :last) # Currently sorted by table number, would be better to sort by last name

# make all the images
for (i,r) in enumerate(eachrow(names))
    cmd = "magick convert -font Beatrica -pointsize 180 -gravity center -annotate +0+0 '$(r.first)\n$(r.last)' -font Amatic-SC-Bold -pointsize 120 -annotate +415-260 '$(r.table)' $template pics/$i.png"
    run(`$(split(cmd))`)
end

#stuff all the images into printable pdfs
p = 1
for i in 1:8:nrow(names)
    cmd = "magick montage  pics/$(i+0).png  pics/$(i+1).png  pics/$(i+2).png  pics/$(i+3).png  pics/$(i+4).png  pics/$(i+5).png  pics/$(i+6).png pics/$(i+7).png -tile 2x4 -border 5 -geometry +0+0 pdfs/$p.pdf"
    run(`$(split(cmd))`)
    p = p+1
end
The cards were printed out and left just the right amount of room for a 2-3 sentence personalized handwritten note on the back for all of our lovely guests. Here is my brother's escort card:
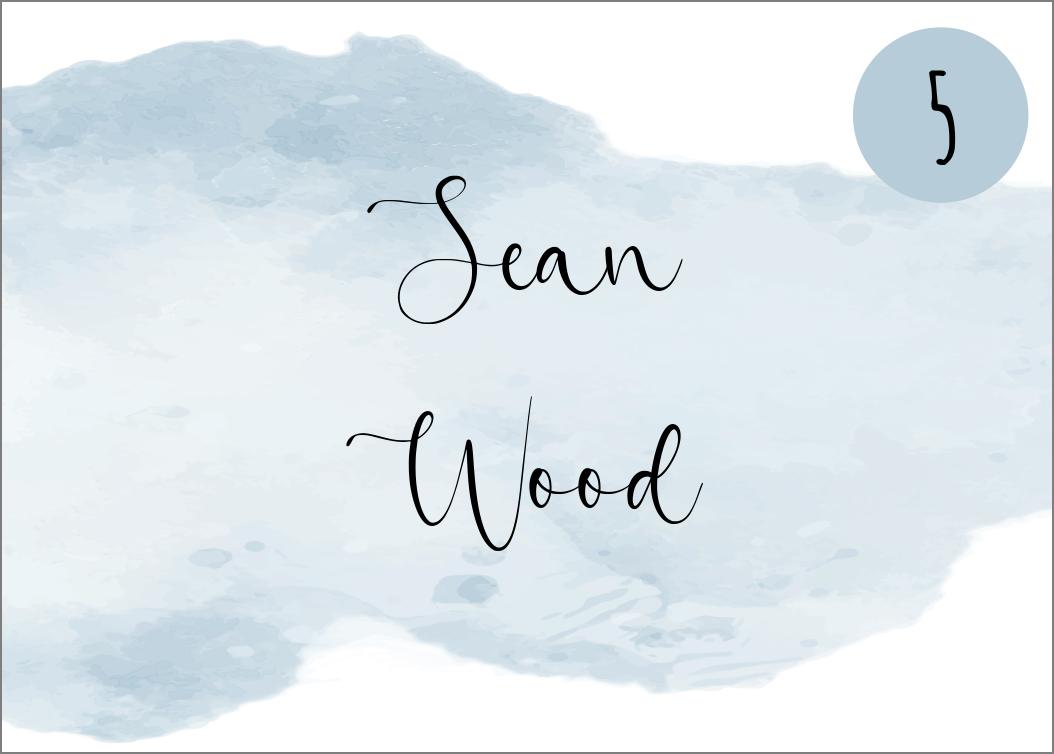
Table Number Signs
The table number signs were a little more fun. We used similar pictures of my wife Erin and I, taken when we were the age of the table number (so the table 7 sign had pictures of us both at age 7). The templating here was more detailed, because the pictures were not always the same size and sometimes lent themselves more towards a landscape or portrait crop. The inputs to the templating script were thus:
18 images of Erin
18 images of me
4 different template images and accompanying metadata (describing where the implanted images go)
CSV describing implant images, where to crop them, and what template to use when combining them
| table | template | im1 | x1 | y1 | w1 | h1 | im2 | x2 | y2 | w2 | h2 | text | textsize |
|---|---|---|---|---|---|---|---|---|---|---|---|---|---|
| 1 | l | 1e.jpg | 0 | 320 | 2237 | 2485 | 1j.jpg | 0 | 60 | 2125 | 2360 | One | 650 |
| 2 | l | 2e.jpg | 8 | 576 | 1978 | 2197 | 2j.jpg | 0 | 396 | 2222 | 2468 | Two | 650 |
| 3 | p | 3e.jpg | 0 | 12 | 3000 | 1909 | 3j.jpg | 200 | 304 | 2648 | 1685 | Three | 650 |
The images are rendered with an ImageMagick composite command by layering together a white background, the two (cropped) input images, the overlay template, and then the title text.
templates = Dict(
    "l" => ("landscape5.png",       4200,3000,  200,600,1800,2000,  2200,600,1800,2000, -1100),
    "ls"=> ("landscape_skinny5.png",4200,3000,  500,600,1500,2000,  2200,600,1500,2000, -1100),
    "p" => ("portrait3.png",        3000,4200,  400,600,2200,1400,  400,2300,2200,1400, -1650),
    "s" => ("single1.png",          3000,4200,  250,725,2500,3000,  250, 725,2500,3000, -1650),
    )

coords = CSV.read("coords.csv", DataFrame)
for r = eachrow(coords)

    outfile = "out/" * string(r.table) * ".png"
    t = templates[r.template]

    cmd = """magick convert  \\
            -font Beatrica -pointsize $(r.textsize) -stroke black \\
            -size $(t[2])x$(t[3]) xc:white \\
            \\( $(r.im1) -crop $(r.w1)x$(r.h1)+$(r.x1)+$(r.y1) \\) -geometry $(t[6])x$(t[7])+$(t[4])+$(t[5]) -composite \\
            \\( $(r.im2) -crop $(r.w2)x$(r.h2)+$(r.x2)+$(r.y2) \\) -geometry $(t[10])x$(t[11])+$(t[8])+$(t[9]) -composite \\
            $(t[1]) -composite \\
            -gravity center -draw "text 0,$(t[12]) '$(r.text)'" \\
            $outfile"""

    run(`$(split(cmd))`, wait=false)
    sleep(0.1)

end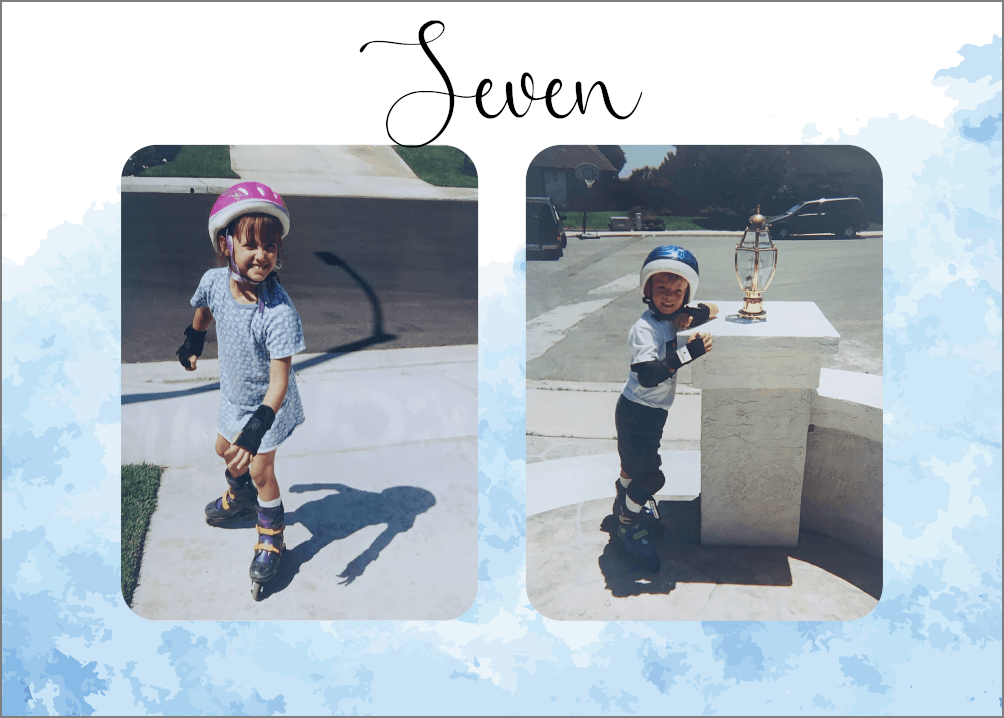
Outputs
Bar #1 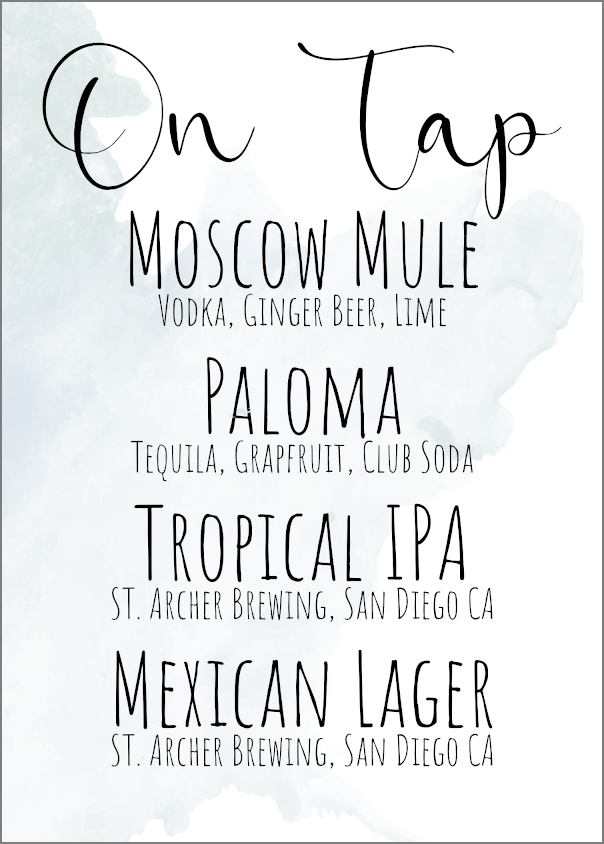
Bar #2 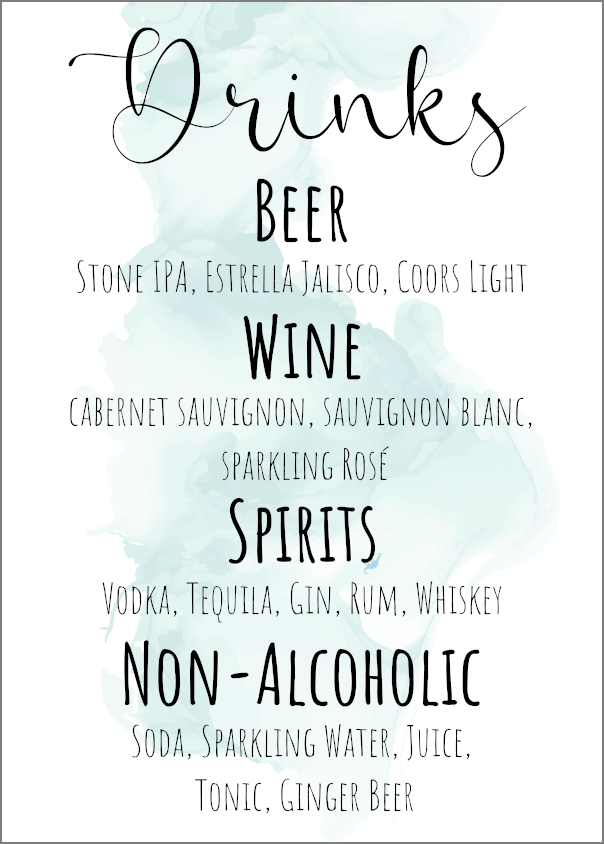
Cards & Gifts 
Desserts 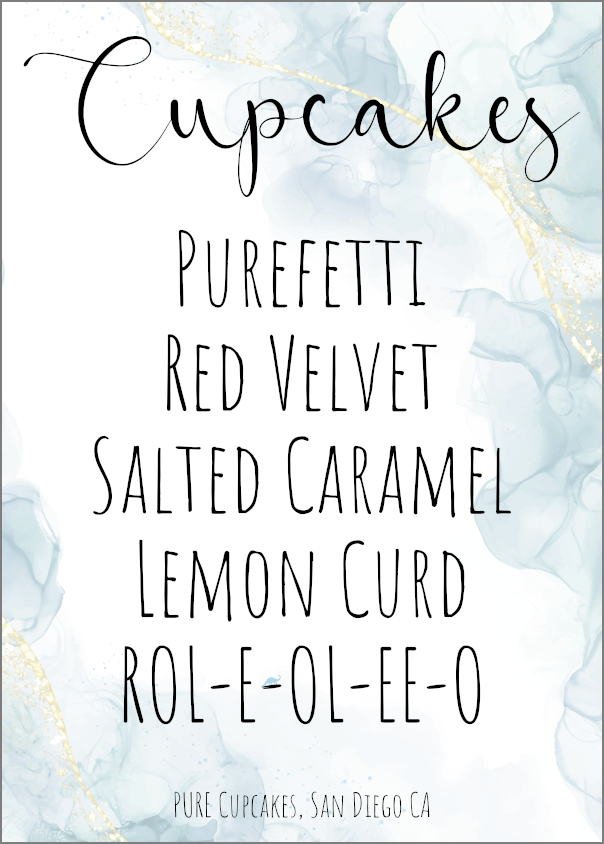
Guestbook 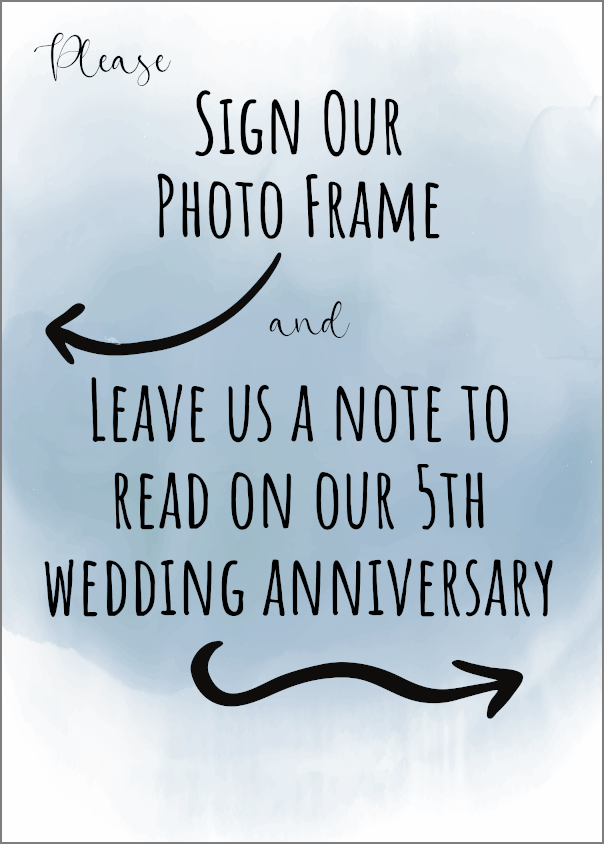
Escort Cards
Table Numbers
Bridesmaid Cards 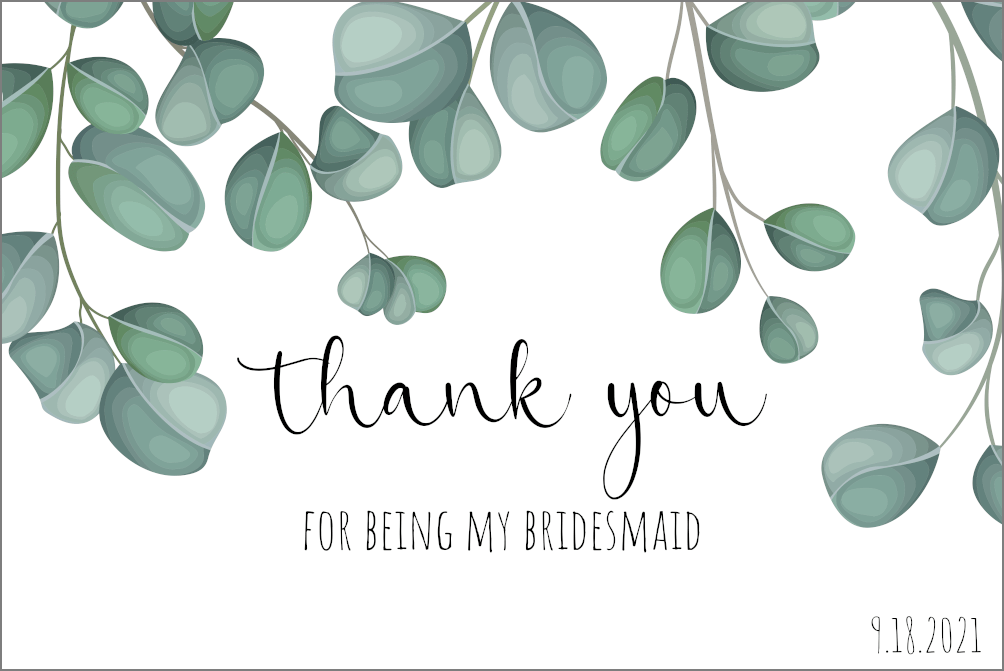

Ingredients
Inkscape - Powerful and free vector graphics editor
Gimp - Free sophisticated image maniupulation program
freepik.com - Resource for free vector graphics
Vecteezy.com - Resource for free vector graphics
ImageMagick - Dependable command line image manipulation
dafont.com - Resource for free fonts
Google Fonts - Resource for free fonts
Costco Photo Center - Cheap and high quality printing
pngquant - png image compression
jpegoptim - jpeg image compression